How to Run MySql in a Docker on a Development Environment
This article will explain the basics to prepare and run a development instance of MySQL inside a Docker Container.
To Containerize, or not to containerize, that is the question
How many times as a developer you got a new project, or even, you are learning something new and you realize that you will need to install some dependencies for that project, let it be a compiler or interpreter for a different language, or a tool or framework or even a database.
To get the idea, imagine that you are working with something that uses a MySQL DB, and then you will need to move to a Postgres DB, or latter, you will do a tutorial on how to integrate a NoSQL DB, like Mongo.
Now you have on your operating system a crazy mess of different softwares that you may or may not use latter on. How you can solve this horrendous mess, yo may ask? Why not with Docker?
Using a MySQL Docker Container for your projects
Here, we will run through the process on how to configure and run a Docker container to use in your developer projects.
Pulling the Docker Image
First, you should have the Docker installed and running in your system. Don’t have it yet? Take a look at my other [post][install-docker] where I go through the process on how to install and use Docker.
To get the desired image, you should take a look at the Docker Hub website, and verify what is the tag for the version that you want. If you don’t mind the version and just want the latest and greatest version, just use the tag last. Here I will use the 8.0 version.
$ docker pull mysql:8.0Starting the Container
To start your container, it’s just a matter of running the following command. But hold on! With this command we are also going to configure some things in our MySQL server.
First, we should take not that the run command will initialize the container with the options and configurations that we want. There a lot of different arguments and options, to see all of them take a look at the Docker Reference Website.
docker run --name mysql-dev -p 3306:3306 -e MYSQL_ROOT_PASSWORD=mysqlrootpassword -d mysql:8.0In this command, we are using the option --name mysql-dev to specify the name that we want for our container.
The -p 3306:3306 is used to map the internal port of the container to our local network. If you want to use a different port, change to -p 4545:3306, note that the first port is the external port, that will use in our hosting system, that is being mapped to 3306, the default MySQL server port inside the container.
The -e Argument, set the Environment Variables for the container, in this case, we are setting the password for the root user. If you remove the argument -e MYSQL_ROOT_PASSWORD=mysqlrootpassword, the MySQL initialization scripts will create a default password for the root user, to find that password you could use the following command to search inside the logs for the password.
docker logs learn-mysql-docker | grep "GENERATED ROOT PASSWORD:"Finally, the -d mysql:8.0 argument specify the Docker image and the tag to run.
After running the command, the shell will return a long UUID that identifies your container. By now, you will be able to use your new MySQL server!
Entering MySQL Shell
If you want to enter SQL codes directly into the MySQL shell, you should first use the following command to enter inside the container shell.
docker exec -it mysql-dev bash
To open the MySQL shell just run mysql -u root -p then you will be prompted for your root password, now just run you sql commands! To leave the shell just type exit on both shells.
Starting, Stopping or Removing the Container
If you are not going to use the DB, you could stop the container with the docker stop mysql-dev. In another time, that you my need to run the container again, just use docker start mysql-dev in you terminal and you are all set.
To remove the container when you don’t need it anymore, just run docker rm mysql-dev after stopping the container. If you want to remove the container and all of the volumes associated, use docker rm -v mysql-dev.
Connecting to the MySQL Server
To use your brand new DB, you have some options. You can use the trustworthy console shell directly inside the container, or you can use the MySQL Workbench in your host operating system.
Installing and Configuring MySQL Workbench
To install the MySQL Workbench, just go to the Downloads page and select your OS, for Arch Linux users, just run the command bellow.
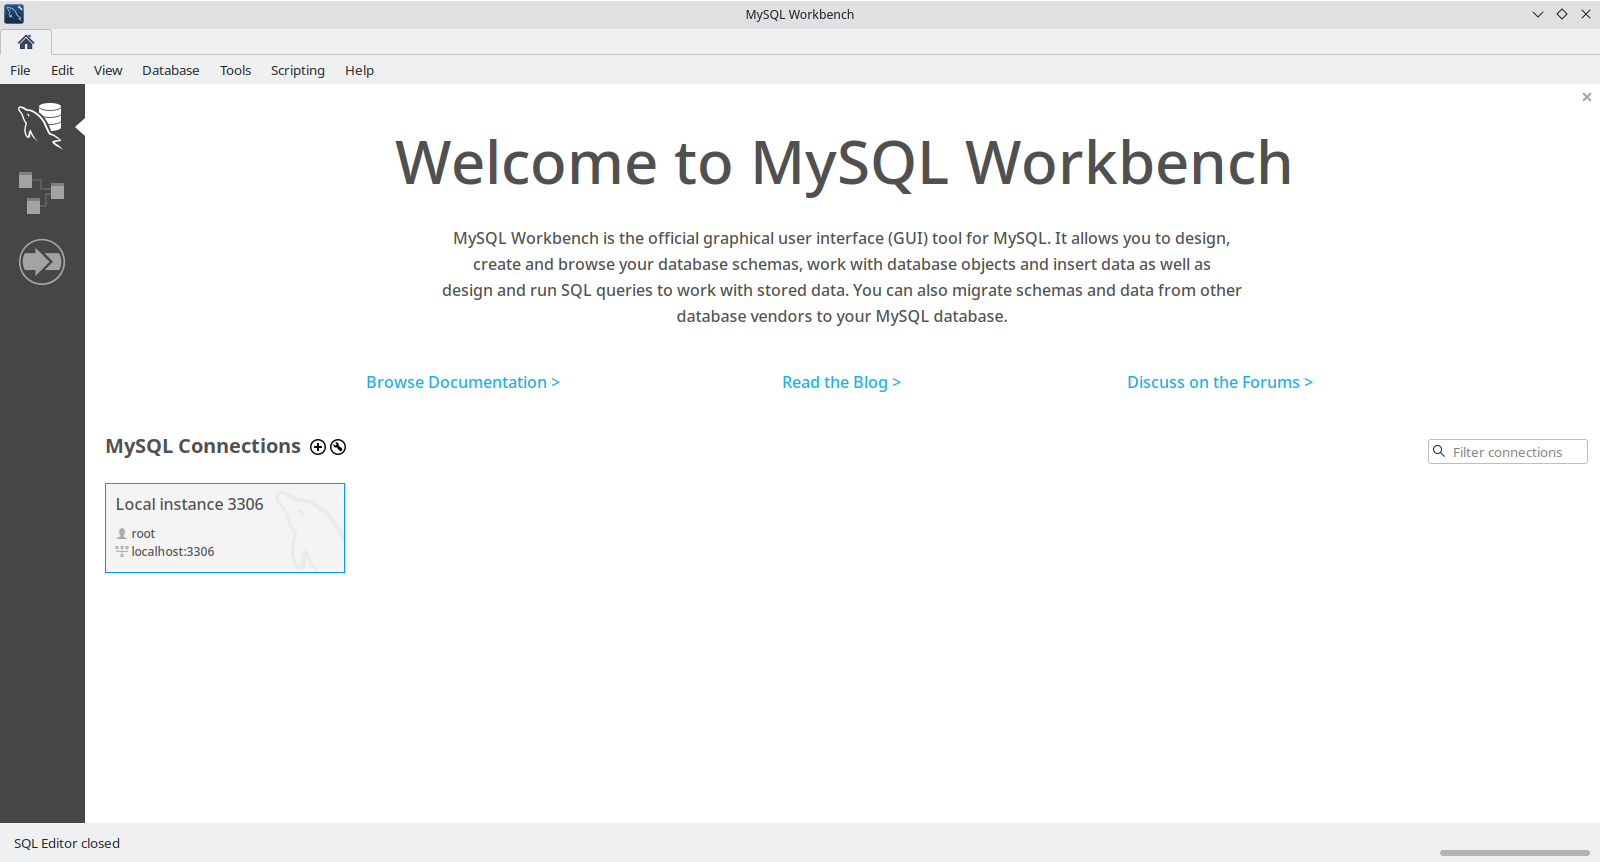
sudo pacman -S mysql-workbenchRunning the newly installed software, you will see at the bottom the the connection button, if you used the default port, just click on the localhost button and enter your password.

If you are using another port or want to change some settings, click on the tool icon to open the configuration window, there you will be able to set different parameters for you connection.

Now you just use the localhost:3306 in your project connection string and start developing.
Until next time, and keep coding!